HCDE532 » Create an Image Slider with jQuery
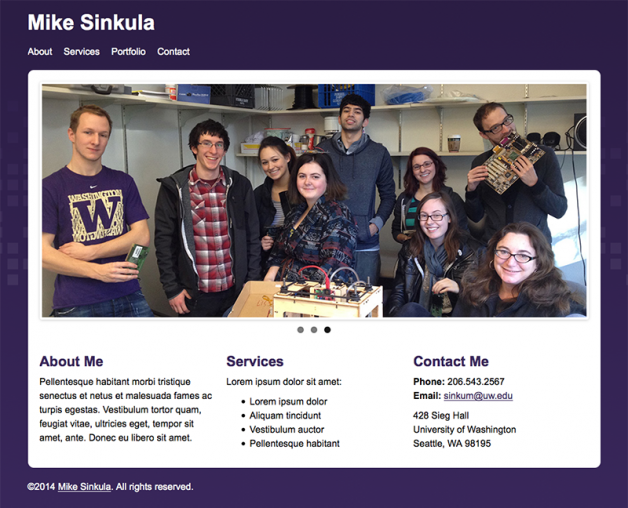
For this exercise, we are going to add an image slider to our home page using Flexslider by WooThemes.
View: http://faculty.washington.edu/sinkum/create-an-image-slider-with-jquery/
Code: https://github.com/msinkula/HCDE598/tree/master/create-an-image-slider-with-jquery
Step One: Download Flexslider
First, go ahead and download the latest version of Flexslider.
Download: https://github.com/woothemes/FlexSlider/zipball/master
Step Two: Get & Place Flexslider Files
When you download and extract Flexslider, you will see a few files that we will need:
Place these files accordingly:
Step Three: Connect the Flexslider Files
Once the Flexslider files have been paced in the correct locations, we need to connect them all:
1. The jQuery JavaScript Library
The first file to connect to is the jQuery JavaScript library:
1 |
<script src="https://ajax.googleapis.com/ajax/libs/jquery/1.6.2/jquery.min.js"></script>
|
See Also: https://developers.google.com/speed/libraries/#jquery
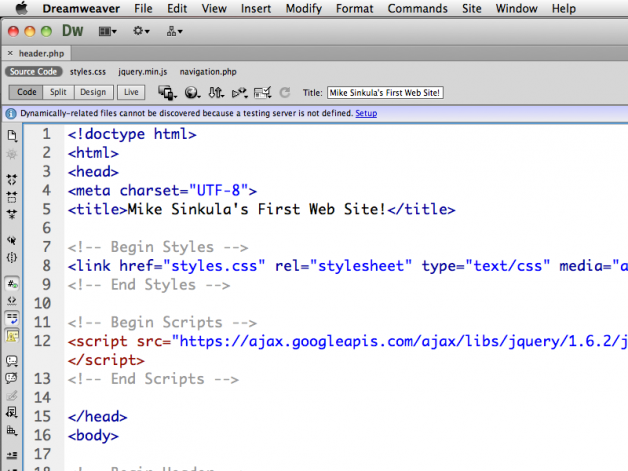
We will need to place this in our header.php include file somewhere inside of our <head> tag:
See Also: Write Less Do More | jQuery
2. The Flexslider JavaScript File
We will also need to make a call to the Flexsilder JavaScript file:
1 |
<script src="scripts/jquery.flexslider.js"></script>
|
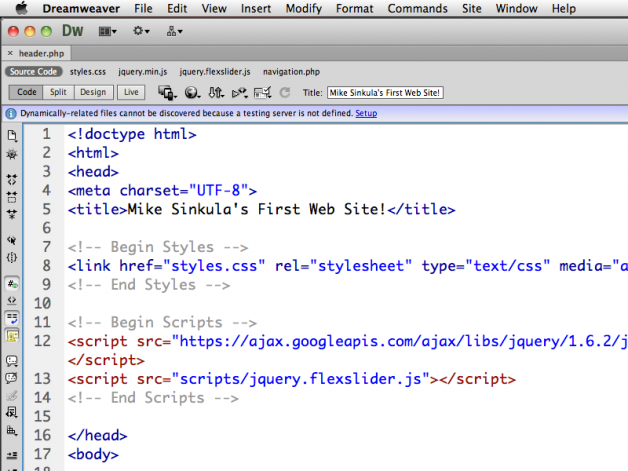
We will also need to place this within our <head> tag as well:
Notice that I have called it from the scripts folder that I created earlier.
3. The Flexslider Style Sheet File
Next, we will need to link the the Flexslider style sheet file:
1 |
<link rel="stylesheet" href="flexslider.css" type="text/css">
|
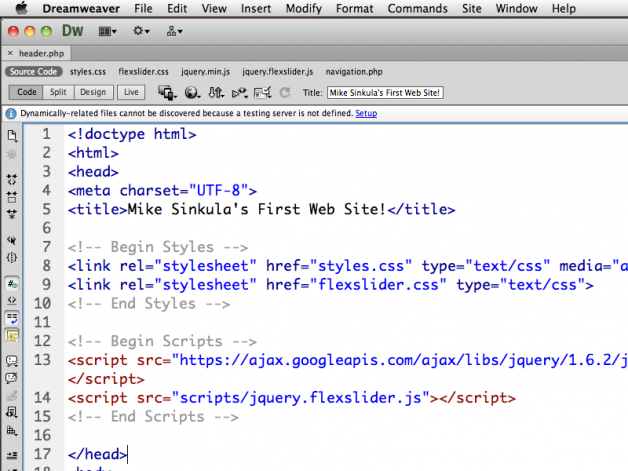
We will place this in our <head> tag as well:
Step Four: Create the Flexslider Markup
Here is where we are going to modify our home page a bit to make it look more like a traditional home page layout.
See Also: 10 Rock Solid Website Layout Examples | Design Shack
Now, we can start placing in the html markup code:
1 2 3 4 5 6 7 8 9 |
<!-- Begin Flex Slider -->
<div class="flexslider">
<ul class="slides">
<li><img src="slide1.jpg" /></li>
<li><img src="slide2.jpg" /></li>
<li><img src="slide3.jpg" /></li>
</ul>
</div>
<!-- End Flex Slider -->
|
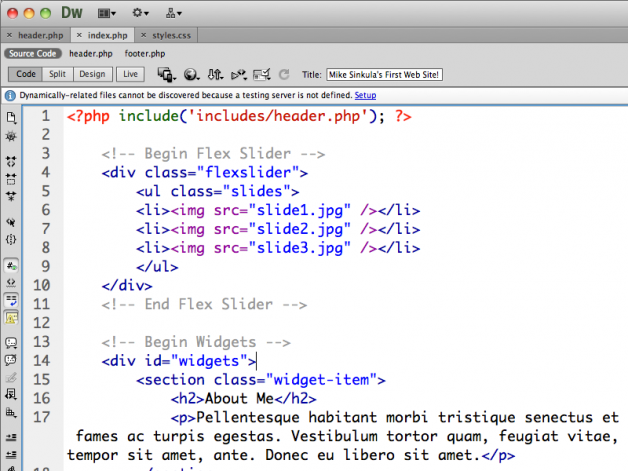
We are going to delete the temporary text that we had in our index.php file and replace it with the Flexslider markup:
When we preview, we should see some of the Flexslider CSS at work, but no images yet:
Notice that I also put in some widgets on the home page.
You can grab this markup:
1 2 3 4 5 6 7 8 9 10 11 12 13 14 15 16 17 18 19 20 21 22 23 |
<!-- Begin Widgets -->
<div id="widgets">
<section class="widget-item">
<h2>About Me</h2>
<p>Pellentesque habitant morbi tristique senectus et netus et malesuada fames ac turpis egestas. Vestibulum tortor quam, feugiat vitae, ultricies eget, tempor sit amet, ante. Donec eu libero sit amet.</p>
</section>
<section class="widget-item">
<h2>Services</h2>
<p>Lorem ipsum dolor sit amet:</p>
<ul>
<li>Lorem ipsum dolor</li>
<li>Aliquam tincidunt</li>
<li>Vestibulum auctor</li>
<li>Pellentesque habitant</li>
</ul>
</section>
<section class="widget-item">
<h2>Contact Me</h2>
<p><strong>Phone: </strong>206.543.2567<br><strong>Email: </strong><a href="mailto:sinkum@uw.edu">sinkum@uw.edu</a></p>
<p>428 Sieg Hall<br>University of Washington<br>Seattle, WA 98195</p>
</section>
</div>
<!-- End Widgets -->
|
… and this bit of CSS:
1 2 3 4 5 6 7 8 9 10 11 12 13 |
#widgets {
overflow: hidden;
}

#widgets section.widget-item {
width: 300px;
float: left;
margin-right: 20px;
}

#widgets section.widget-item:last-child {
margin-right: 0px;
}
|
Step Five: Place Your Images
For this piece, you can download these sample images that are cropped to 940px wide X 400px tall:
Place these slides in your images folder.
Let’s now place them within our Flexslider markup.
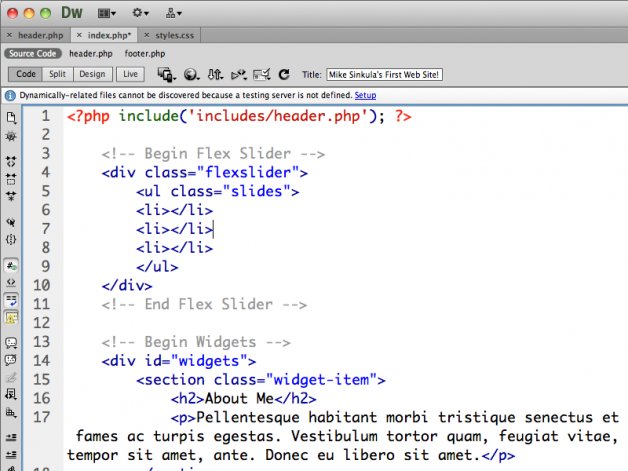
First let’s delete the three temporary <img> tags:
Now, let’s place one of our slides.
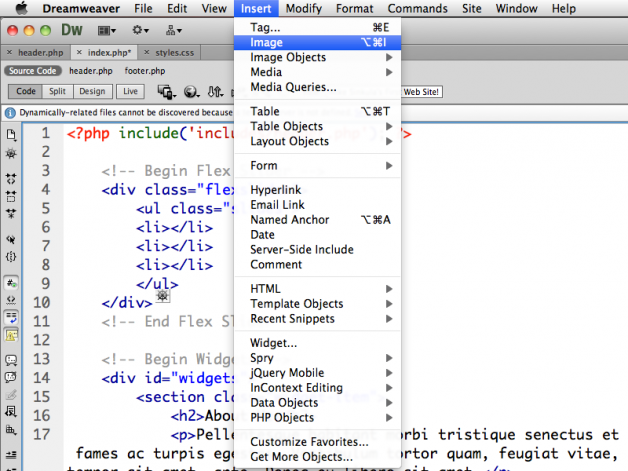
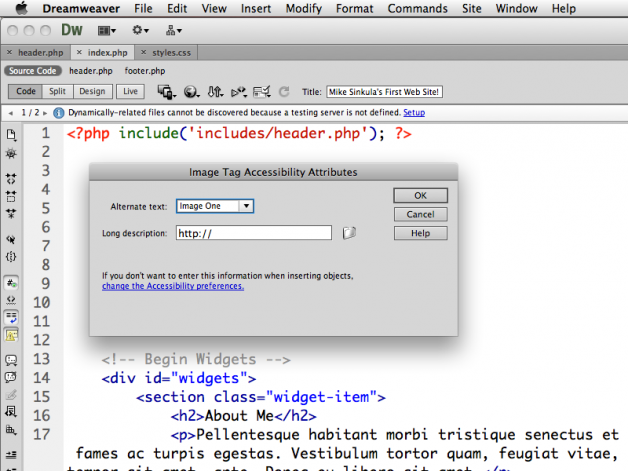
Put your cursor between the first set of <li> tags and go to Insert > Image:
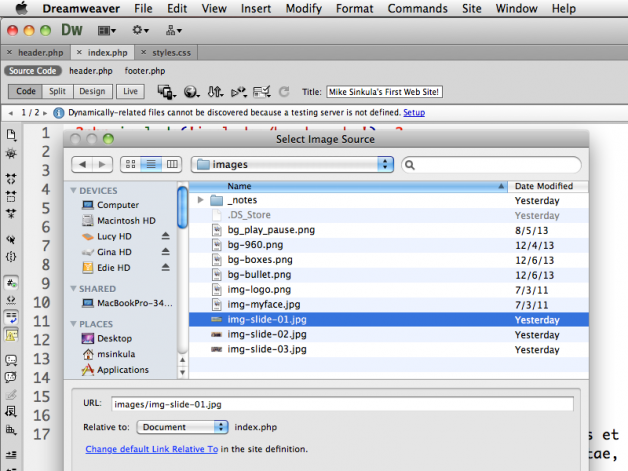
… choose your first image:
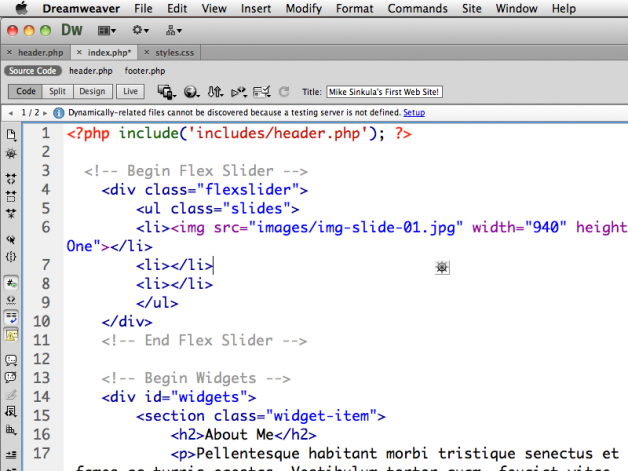
… give it an alt attribute value:
You should see your <img> tag in place:
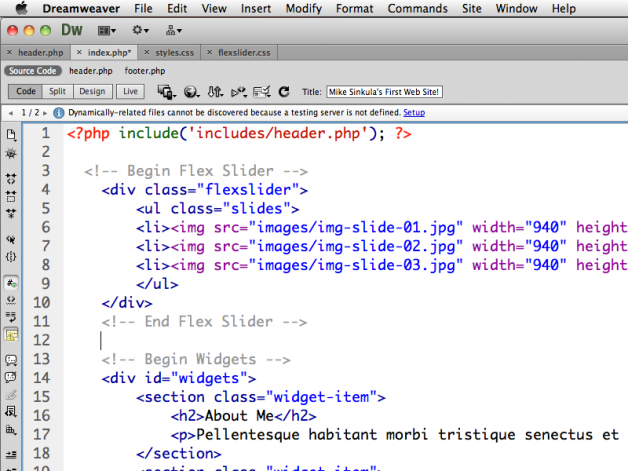
Repeat these steps for the other two images:
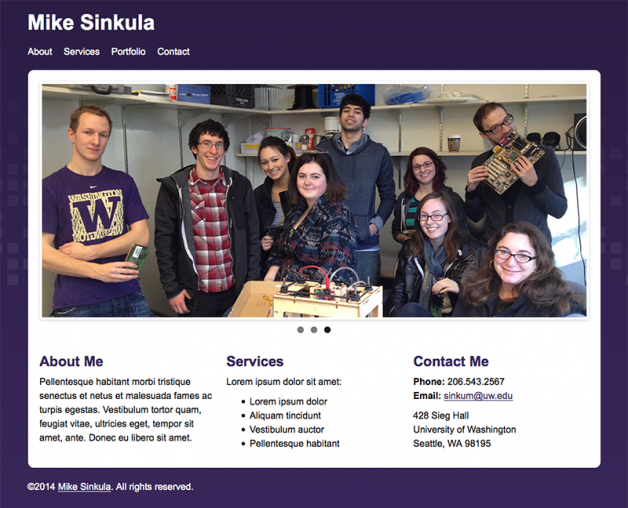
Now if we preview:
… Where are my images?
Step Six: Activate Flexslider
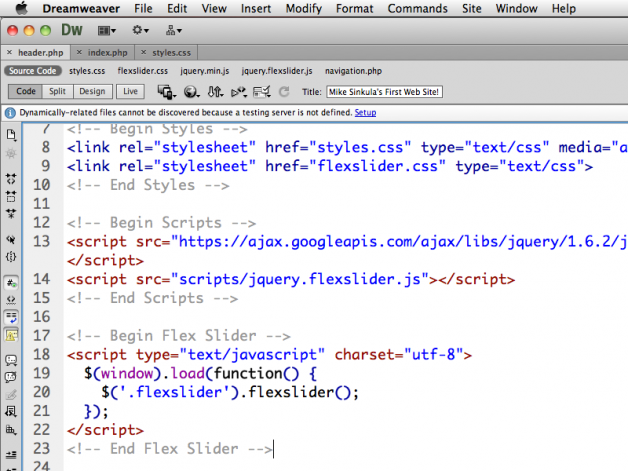
In order to actually get this to work, we need to add the jQuery to load Flexslider:
1 2 3 4 5 6 7 |
<!-- Begin Flex Slider -->
<script type="text/javascript" charset="utf-8">
$(window).load(function() {
$('.flexslider').flexslider();
});
</script>
<!-- End Flex Slider -->
|
See Also:
.load() | jQuery API Documentation
jQuery() | jQuery API Documentation
Put this in your header.php file inside your <head> tag:
… Now it works:
Congrats!! You now have a working image slider on your home page!
Lastly, let’s make our website responsive…
This portion of the Premium Design Works website is written by Mike Sinkula for the Web Design & Development students at Seattle Central College and the Human Centered Design & Engineering students at the University of Washington.






4 Comments:
Hi I really love your tutorials thanks a lot. I am trying to load flexslider into the header in wordpress or have it span the width of the container, is this possible at all. if yes can you give some pointers.
thanks in advance
Try this tutorial: http://www.premiumdw.com/2014/04/22/create-a-flexslider-gallery-using-attachment-images-in-wordpress-without-a-plugin/
Trackbacks:
[…] fan of using Flexslider by WooThemes as an image gallery in my websites. I have even written up an exercise on how to implement it into a static site for my Human-Centered Design & Engineering students at the University of […]
[…] Also: Create an Image Slider with jQuery | HCDE598 | Premium Design […]