WEB200 » Creating a Website Wireframe in Illustrator
Website Wireframes are black-and-white schematic diagrams that illustrate blocks of content, navigation and functionality of a website design. They are used in the process of designing the content layout for pages of a website.
This tutorial will walk you through creating a Website Wireframe document using Adobe Illustrator (CS3):
Download: Creating a Website Wireframe in Illustrator | Premium Design Works
Step One: Creating the Document
I usually make my new document to allow for the height and width of a real web page. I also create guides to help me out with my “live area” of my web page and to help me out with my “column grid.”
NOTE: When creating a Wireframe document, we need to keep in mind that this document can be used to flush out our visual design when we get to it.
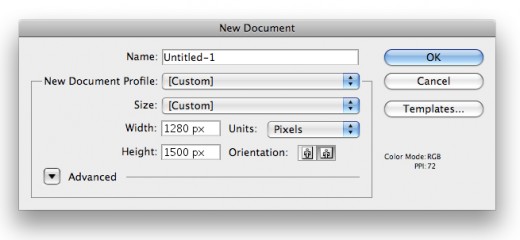
In this case I will start out by creating a document that is 1280px X 1500px:
NOTE: You should choose “Web” for your new document profile. But, when you change to a custom size it will change to “Custom.”
By creating a web document with the 1280px X 1500px settings, we have a point to work from that will allow us to design what will happen in the “dead area” of the web page.
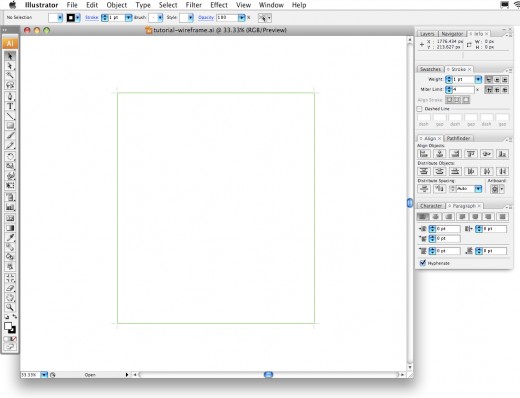
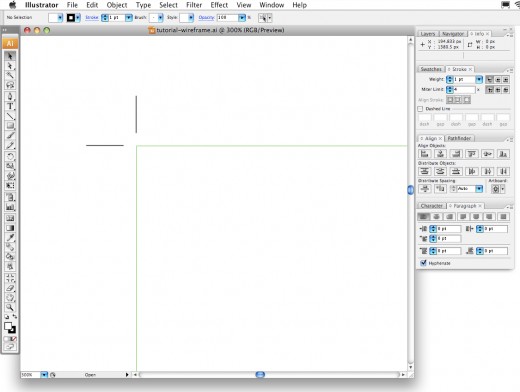
You will notice that when you create a web document with the 1280px X 1500px settings you will see a green box with crop marks on the outside:
NOTE: This green box with crop-marks will be important down the road when we use this document to start our visual design.
When we export this document as another working file, only the art inside the green box with crop-marks will get exported:
Step Two: Creating the “Live Area” Guide
Now that we have our document set up, we need to create guides to work from for our “live area” of our web page.
As of late I have been designing web pages with a “live area” of about 900px wide. But, let’s not forget that we will have a “live area” that goes beneath “the fold” of our browser screen. Therefore, I will be creating a “live area” of 900px X 1400px. This will allow for me to have enough vertical room to design content that is below “the fold.”
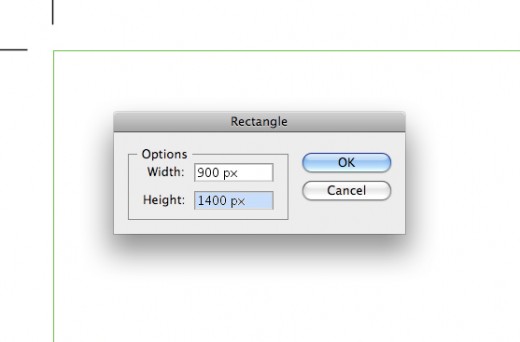
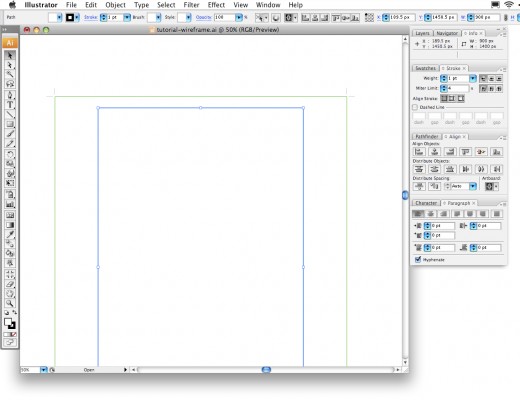
I will start out by making a box that is 900px X 1400px. To do so, I will need to click on the rectangle tool and then click down inside the artboard of my Illustrator document.
Once I do this, I will get a dialogue box that I can insert my dimensions:
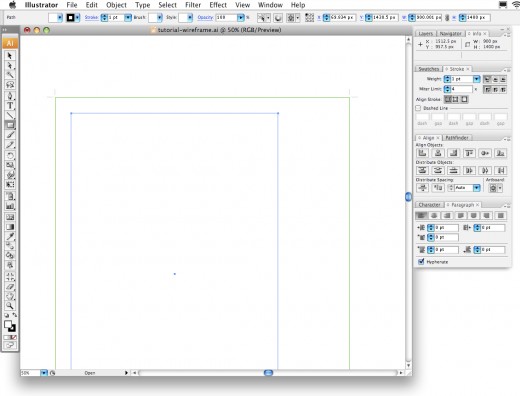
Now I have a box to the correct dimensions.
However, Illustrator has just placed this box in a random spot on my art board:
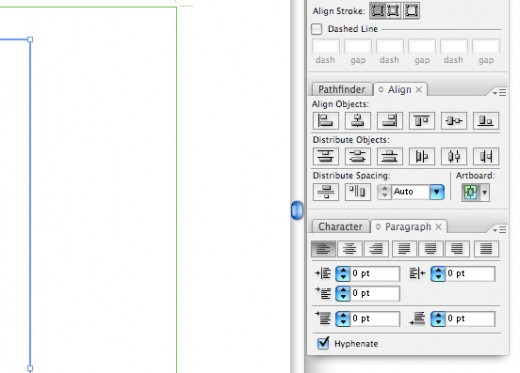
To get the box in the center of our art board, we will need to use the align palette. If your align palette is not open, go to Window > Align.
Now that you have your align palette open, make sure your box is still selected and click the “Align to Artboard” box:
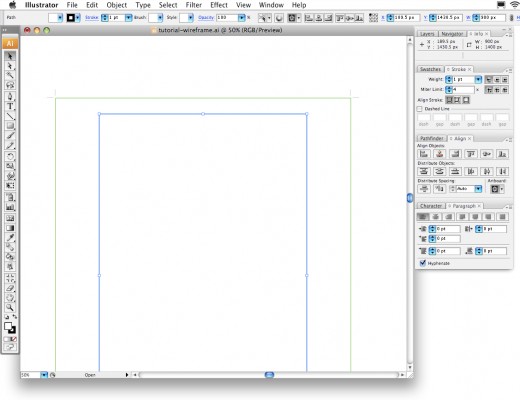
Now that your “Align to Artboard” option is selected, click on the “Horizontal Align Center” option in your align palette:
And, click on the “Vertical Align Center” option in your align palette:
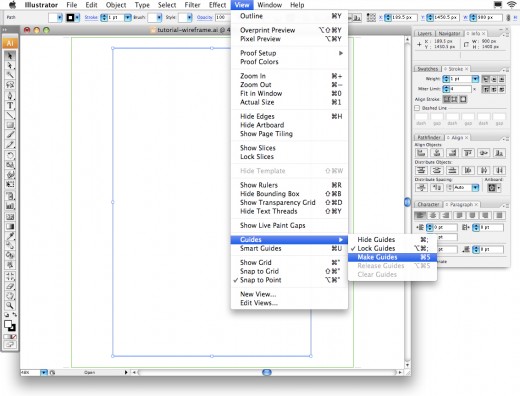
Your box should now be centered inside your document. You are now ready to make that box into a guide that will be the “live area” of your web page.
To turn this box into a guide, go to View > Guides > Make Guides:
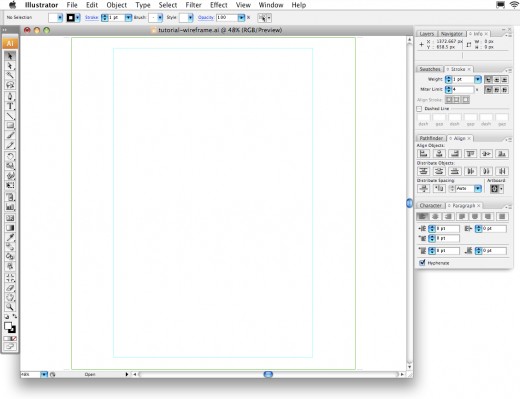
You should now have your “live area” guide in the center of your document:
Step Three: Creating the “Column Grid” Guides
Now that we have created our guide for our live area, we are going to use some of the same steps as above to create our column grid.
I am going to start out by making another box that is 860px X 1360px so I will have a margin around my columns of 20px. I am also going to center that box inside my art board using the align palette again.
The result is that I now have another box in the center of my art board that I will make my “column grid” from:
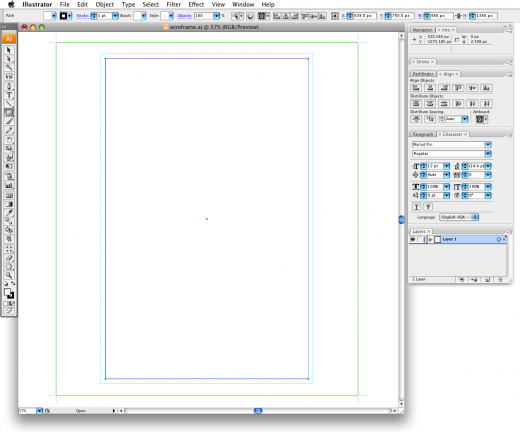
Instead of turning this box into a guide right away, I need to split it into a grid.
I am going to choose Object > Path > Split Into Grid:
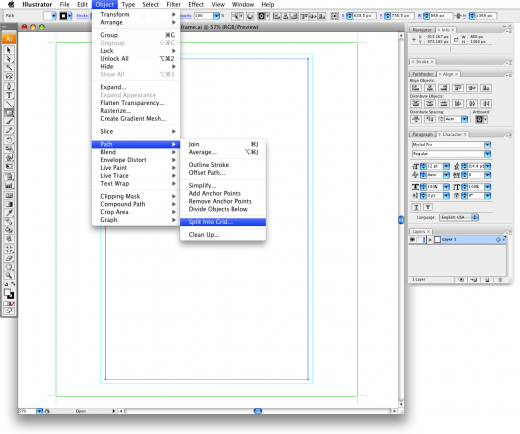
Once I do that, I will get a dialogue box to choose my grid settings.
In the “Split Into Grid” dialogue box I am going to set things to 3 columns with a 40px gutter:
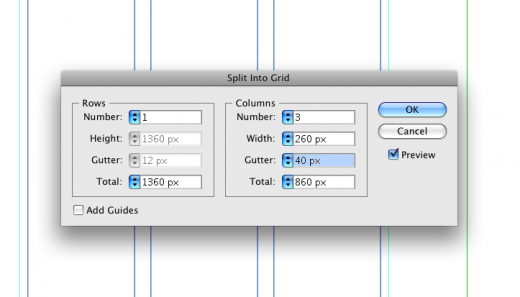
Once I have done that, I will need to make these columns into guides by choosing View > Guides > Make Guides.
I now have a document containing my “live area” with a “column grid” that I can work from:
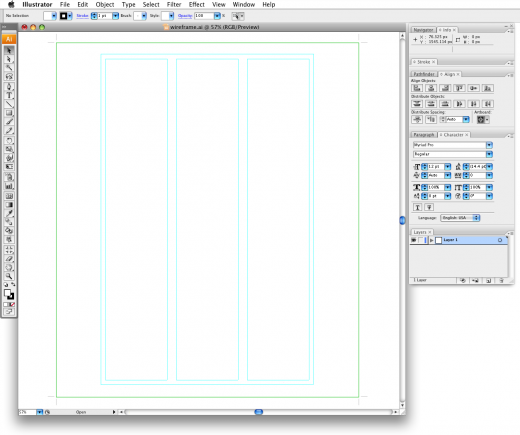
Lastly, I am going to rename the layer that contains my column grid:
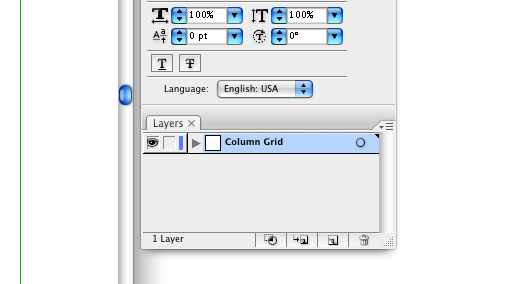
Step Four: Placing Content
Now we need to design the content layout of our web page.
See Also: Content Layout | Premium Design Works
Let’s first start out by creating a new layer to create our artwork within:
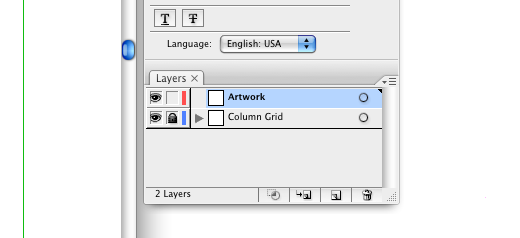
You should also lock your “Column Grid” layer.
I like to start out with dividing the page into the main components of layout:
- Header
- Navigation
- Content
- Footer
I will then start with making a box for the header at a dimension of 900px X 180px:
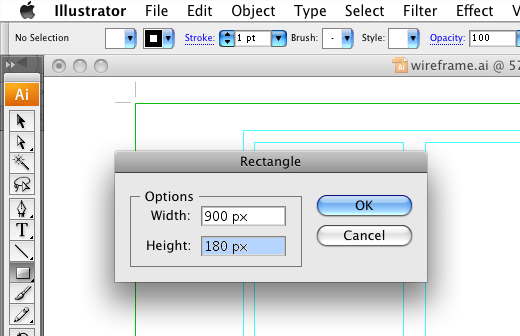
Once I have made my box with the rectangle tool, I will put in place over top my grid:
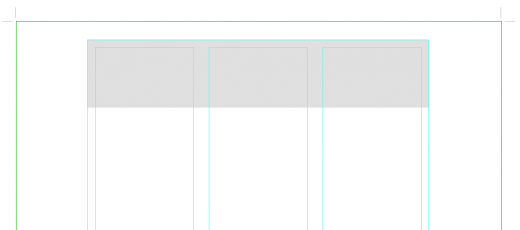
I will then make the other boxes for the navigation, content and footer areas:
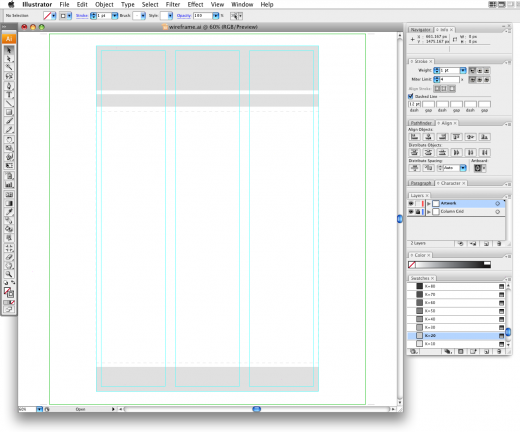
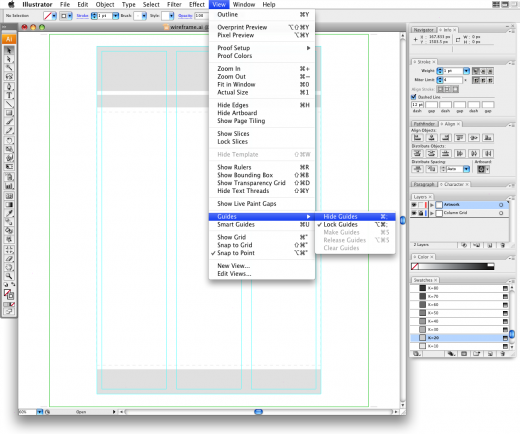
If I hide my guides via View > Guides > Hide Guides…:
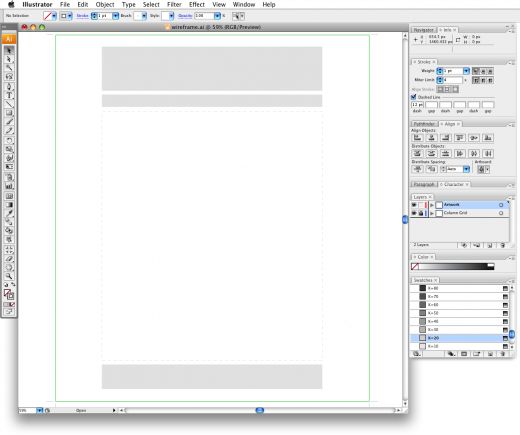
…you will see that the areas are clearly defined:
Now that my areas are defined, I need to place the actual content of the page:

Let’s notice that I have used a company name and the actual navigation items from my information architecture. You will find many Wireframes that use dummy links for the navigation. I disagree with that methodology.
If the purpose of a Wireframe document is to show the Client a content layout… You should use the actual navigation items from the information architecture. This will show the Client exactly how the navigation will look and work.
Notice that I have used the actual headlines as well. But, have used “Lorem Ipsum” text for the areas of text that are subject to change.
Step Five: Creating the Annotations
Lastly, we will need to create annotations to describe functionality.
The term “Spotlight Animation” doesn’t describe the contents of the animation. It just tells us that there will be an animation of some sort in that spot of the page. Therefore, we will need some way of describing the contents of the animation to our Client.
Let’s simply place a “call-out” next to the description:
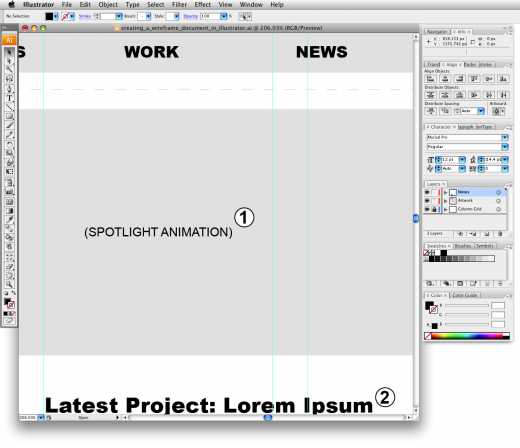
We can then describe the contents of the animation using annotations:
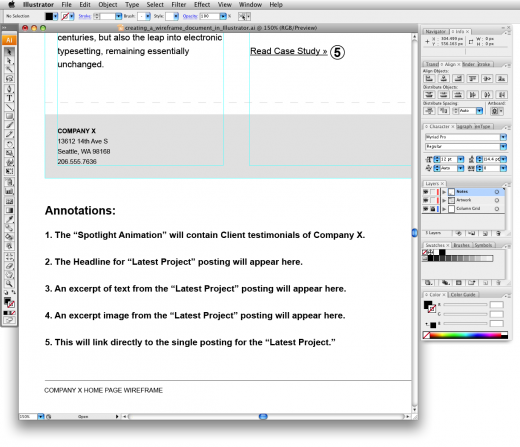
This way, the explanation of content and functionality will be out of the way of the actual design of the page.
We should create these annotations for any part of the design that may require further explanation. Let’s not forget to include the measurement of how wide the page is either.
After adjusting the guides a bit and creating the indicia… We now have our finished Wireframe document created in Adobe Illustrator (CS3):

Download: Creating a Website Wireframe in Illustrator | Premium Design Works
This portion of the Premium Design Works website is written by Mike Sinkula for the Web Design & Development students at Seattle Central College and the Human Centered Design & Engineering students at the University of Washington.


48 Comments:
Hello sir , I’m a student at the Art Institute of Pittsburgh PA On-line division. This article is great.
Do you have the wireframing as HTML Coding.
Kieran
Thanks! Excellent post… very usefull
eh whats good
whats good
This is a really great guide – although I got stuck at ‘rename your layer’ because my navigation bar on the right hand side was different to the one pictured and I couldn’t work out how to replicate it.
Nice post. I learn something totally new and challenging on sites
I stumbleupon every day. It will always be exciting to read through content
from other authors and use a little something from other sites.
« Older Comments
Trackbacks:
[…] Creating a Website Wireframe in Illustrator […]
[…] Also: Creating a Website Wireframe in Illustrator | WEB200 | Premium Design […]
[…] Creating a website wireframe in Illustrator This Illustrator tutorial will show you how to easily and quickly create website wireframes which are used in the process of designing the content layout. […]
[…] Another tutorial here (not using 960.gs) […]
[…] I decide to use Illustrator and teach myself using a handy step by step guide like the one I found here, or perhaps I’ll take a look at Fireworks or even Skeleton. I haven’t quite decided. […]