WEB170 » Creating Content with WordPress
Content is the key to any good website. It’s what your users are coming to see, right?
Without good and relevant content everything else is merely a placeholder.
— Web Redesign: Workflow that Works 2.0, by Kelly Gato & Emily Cotler
Therefore, let’s see how we can easily create, update and manage content using WordPress, shall we?
The good thing about a Content Management System is that your Client can create, update and maintain content. The bad thing about a Content Management System is that your Client can create, update and maintain content.
— Mike Sinkula, Professional Twelve Year Old
Step One: Create a New Posting
Posts are the principal element (or content) of a blog. The Posts are the writings, compositions, discussions, discourses, musings, and, yes, the rantings, of a blog owner and contributors. Posts, in most cases, are the reason a blog exists; without Posts, there is no blog!
See Also: http://codex.wordpress.org/Administration_Panels#Posts_-_Make_some_content
Once logged in to the administration panel, you will see a link for “Posts” in your main navigation.
Once you click the “Posts” link you will be taken to the Posts Edit SubPanel:
The Posts Edit SubPanel allows you to select the Post or Posts you wish to edit, delete, or view.
You may have noticed that there is already a “Hello World!” Post in your list. The “Hello World!” posting is an example posting that WordPress gives you so you can see how a posting is written.
If you click the “Hello World!” post, you will be taken to the Write Post SubPanel:
The Write Post SubPanel is used to write new posts and edit existing ones.
To create a new post you will need to click Posts > Add New in your main menu. Once you click the “Add New” link, you will be taken to a blank Write Post SubPanel where you can create your very first post.
We can now write a title for our posting and create the content that goes with it:
The content for our new posting will be written inside the Rich Text Editor that WordPress provides us.
You can see that the Rich Text Editor has quite a few buttons that look similar to the options you might find in various pieces of software. We will taking a look at these options and Editing & Formatting Your Text in WordPress in the next lecture. For now, let’s publish what we have so far.
To publish your post, go ahead and click on the big blue “Publish” button.
Once you click on the big blue “Publish” button, WordPress will notify you that your post has indeed been published and will ask you if you’d like to view your posting. Click on the “View Post” link.
When you click on the “View Post” link you will be taken to the permalink for that posting:
Permalinks are the permanent URLs to your individual weblog posts, as well as categories and other lists of weblog postings. A permalink is what another weblogger will use to link to your article (or section), or how you might send a link to your story in an e-mail message. The URL to each post should be permanent, and never change — hence permalink.
See Also: http://codex.wordpress.org/Using_Permalinks
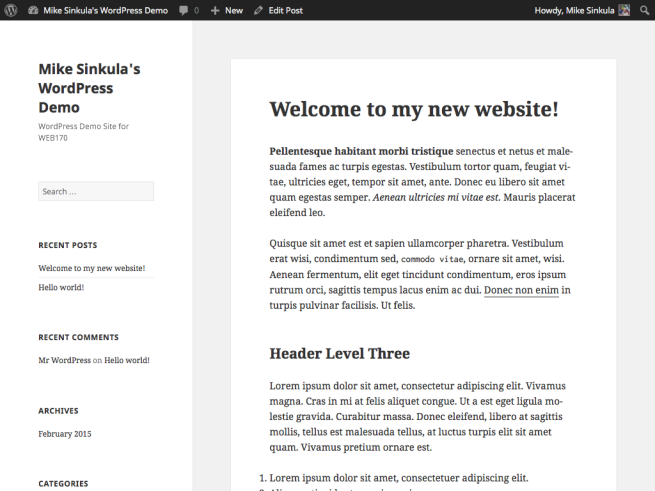
If we go back to the home page of our site, we will see the posting in our blog.
Step Two: Create a New Page
A Page is often used to present “static” information about yourself or your site. A good example of a Page is information you would place on an About Page. A Page should not be confused with the time-oriented objects called posts. Pages are typically “timeless” in nature and live “outside” your blog.
See Also: http://codex.wordpress.org/Glossary#Page
Once logged in to the administration panel, you will see a link for “Pages” in your main navigation.
Once you click the “Pages” link you will be taken to the
To create a new page you will need to click Pages > Add New in your main menu. Once you click the “Add New” link, you will be taken to a blank Write Page SubPanel where you can create your very first page.
We can now write a title for our page and create the content that goes with it:
The content for our new page will be written inside the Rich Text Editor that WordPress provides us.
You can see that the Rich Text Editor has quite a few buttons that look similar to the options you might find in various pieces of software. We will taking a look at these options and Formatting Your Text in WordPress in the next lecture. For now, let’s publish what we have so far.
To publish your page, go ahead and click on the big blue “Publish” button.
Once you click on the big blue “Publish” button, WordPress will notify you that your page has indeed been published and will ask you if you’d like to view your posting. Click on the “View Page” link.
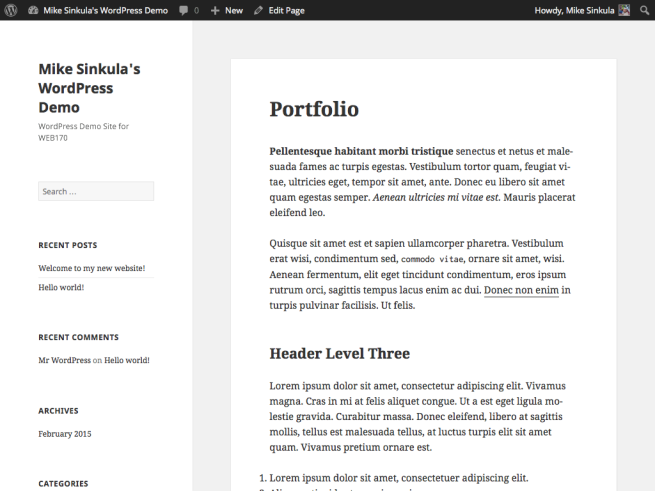
When you click on the “View Page” link you will be taken to the permalink for that page:
Let’s now make a sub-page to our new page. But, this time, lets take a differnt route.
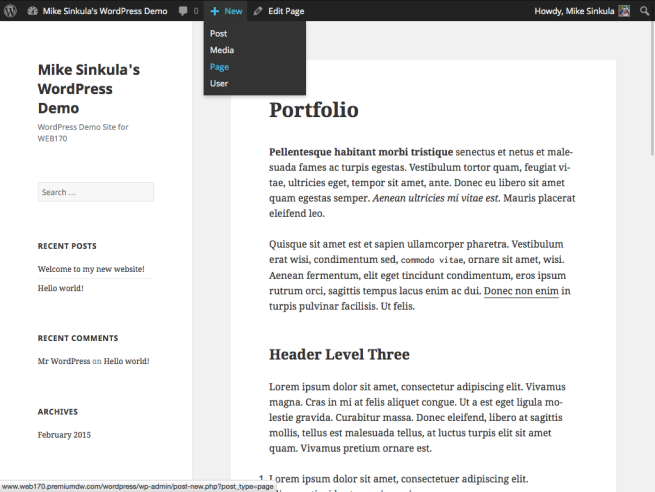
From our Toolbar, we can create a new page:
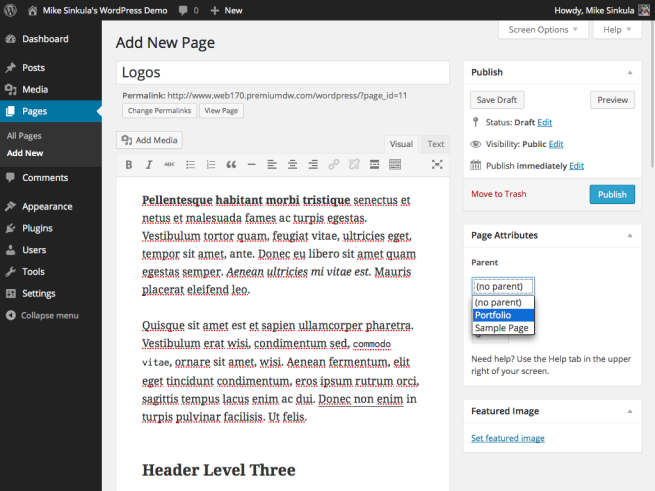
We can then add our content and choose a parent page for this sub page:
Once we publish our sub-page, we can see the hierarchy of the pages by going back to Pages > All Pages:
Congratulations! You have now created some content in WordPress!
But, Where’s the Navigation Menu for the Pages when we visit our site? Hint, we haven’t created it yet. Let’s go to Creating Navigation & Menus in WordPress.
This portion of the Premium Design Works website is written by Mike Sinkula for the Web Design & Development students at Seattle Central College and the Human Centered Design & Engineering students at the University of Washington.


2 Comments:
I have to thank you for the efforts you’ve put in penning his site.
I’m hoping to see the same high-grade blog posts from
you later on as well. In truth, your creative writing abilities has
encouraged me to get my own, personal sire now
;)
Trackbacks:
[…] are here and here; video is […]