WEB200 » Creating Tints & Shades in Illustrator
Tints & Shades are a fabulous way to expand your two or three color palette into an extensive array of colors. They will allow you to create much more depth in your web design.
This tutorial will walk you through creating Tints & Shades using Adobe Illustrator (CS3):
Download: Extending Your Color Palette with Tints & Shades | Premium Design Works
Step One: Importing Your Colors
Let’s say a company gives you their logo as an Illustrator vector file.
In this file, let’s say they have designated their Pantone colors:
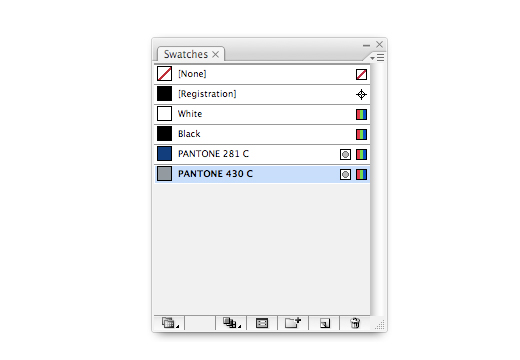
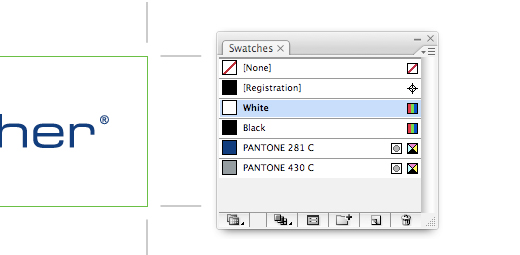
If they have used Pantone colors in their logo, you should find them in the swatches palette:
This swatch palette can then be imported into another Illustrator document that you can create your Tints & Shades from.
Let’s start by creating a new Illustrator document:
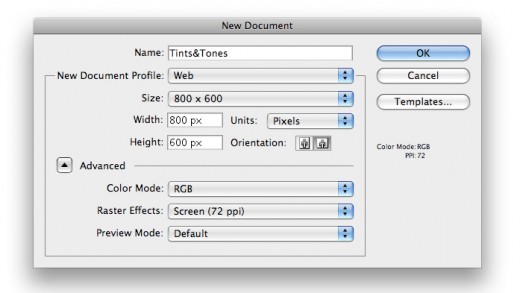
Now that you have created a new document, you can open the logo file as a swatch palette.
You do this by going to Window > Swatch Libraries > Other Library:
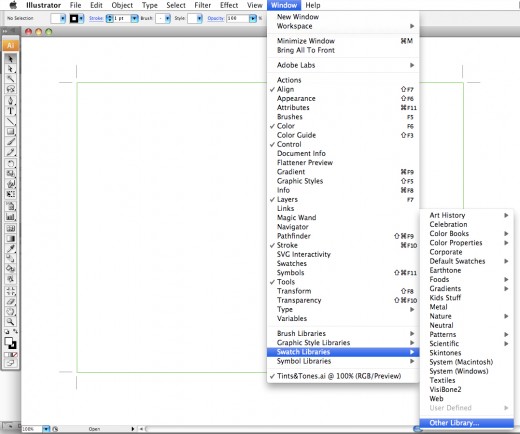
You will then be asked to select a library to open. Choose your logo file:

You should now see your logo file opened up as a new swatch palette:
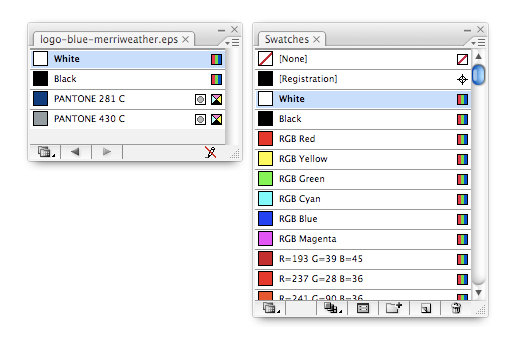
Step Two: Customizing Your Palette
If you are at all like me, you find the default colors in the swatches palette to be annoying to look at all of the time.
What I typically do is delete all of the unused colors from my palette so I can find the ones I am using with ease.
To delete the unused colors from your swatches palette you need to “Select All Unused” from the palette’s option menu:
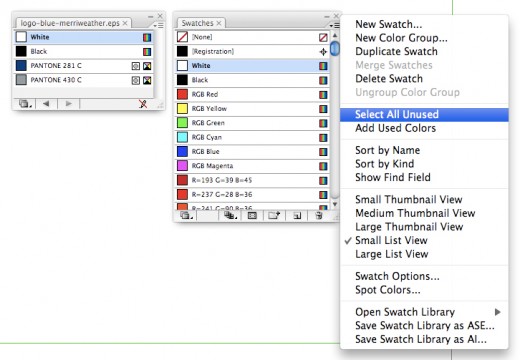
Then “Delete Swatches” to remove them:
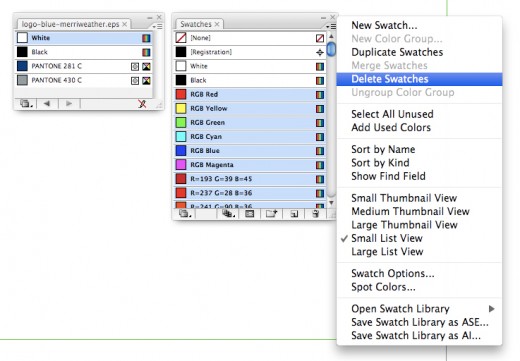
You should now have a clean swatches palette to start working from:
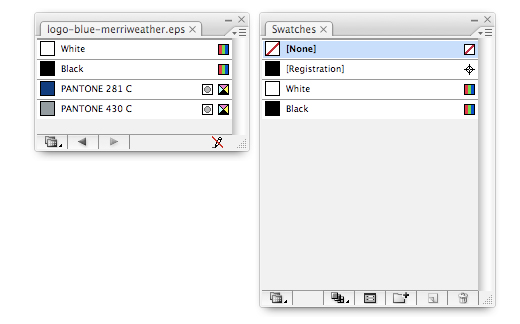
You can then import your colors from your logo file to your Tints & Shades file by simply clicking and dragging them over:
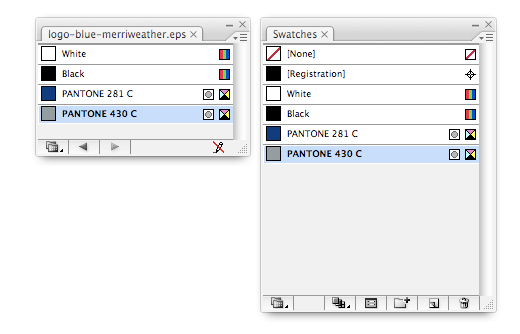
Once you have moved your Pantone colors into your swatches palette, you may need to convert them from CMYK to RGB.
Simply double click on the swatch to open the Swatch Options.
Once the Swatch Options is open, change the Color Mode to RGB:
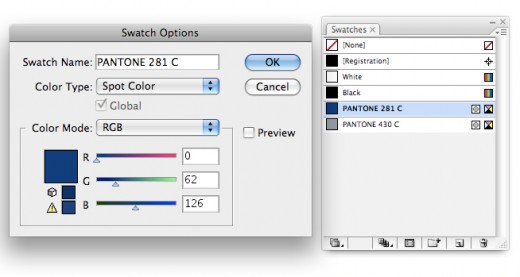
Once you have done this you should see the RGB icon next to your colors in your swatches palette:
NOTE: Since we are working in the web environment we should change all of our swatches to RGB mode.
Step Three: Making your Tints & Shades
Let’s make some Tints & Shades!
First, you will need to make ten squares for each color in your palette:
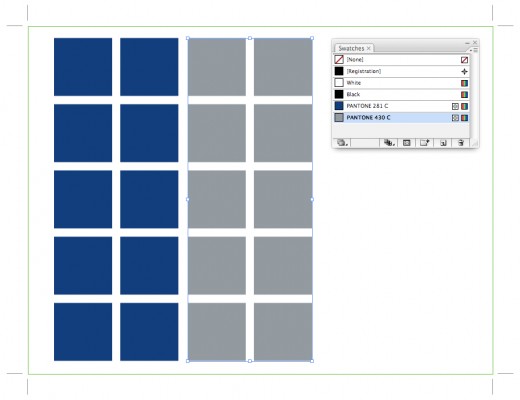
Now that you you have done that, open the color palette by choosing Window > Color.
When you open the color palette, select a swatch from your library.
You will notice that if your color is a spot color, you will see a slider that can adjust percentages of a color:

Type in a new value of 80% into the slider. Then drag the color to your swatches palette:

With that done, you can select one of your squares and change it to the new 80% tint:
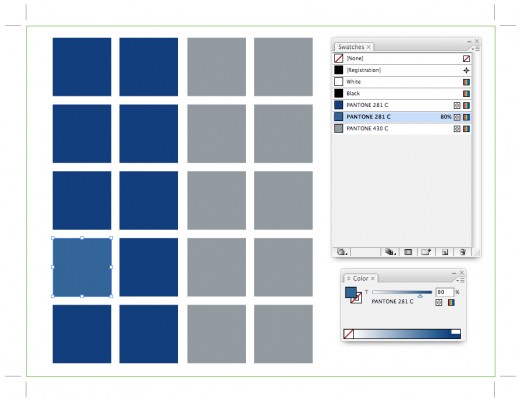
You can then repeat these steps for the values of 60%, 40% and 20% to create the rest of your tints:

To create our first shade, we will need to go back to our color palette. But, this time we will need to add some black to the color.
To do so, choose CMYK from the options menu in the color palette:
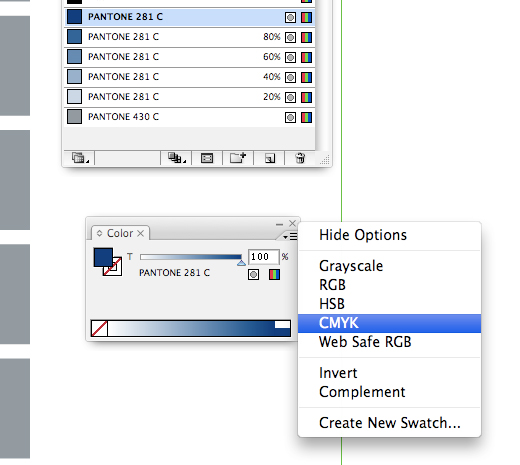
Then, change the black or “K” slider to 20% and drag that color to your swatches palette:

Unfortunately, Illustrator does not rename the new tone swatch very well.
To keep things organized, let’s rename the swatch to a more logical name:
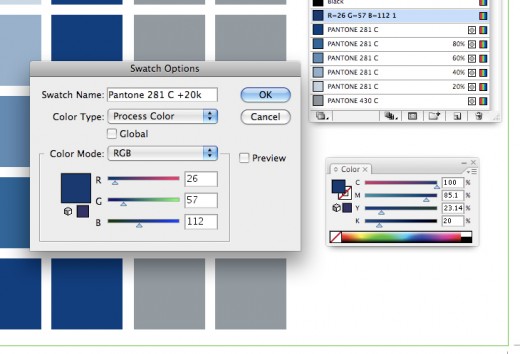
You can now select a square to create your first 20% black shade:
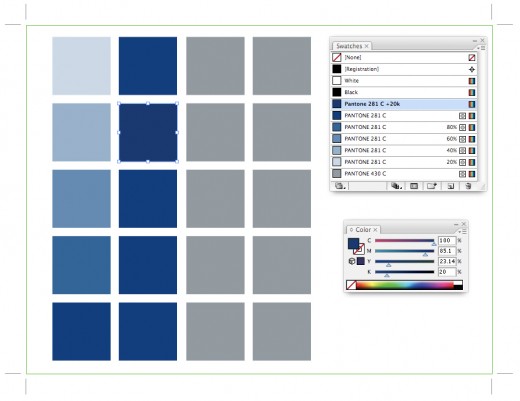
Repeat these steps to create your 40%, 60% and 80% black shades.
You can then repeat these steps to create tints and shades for all of your colors:
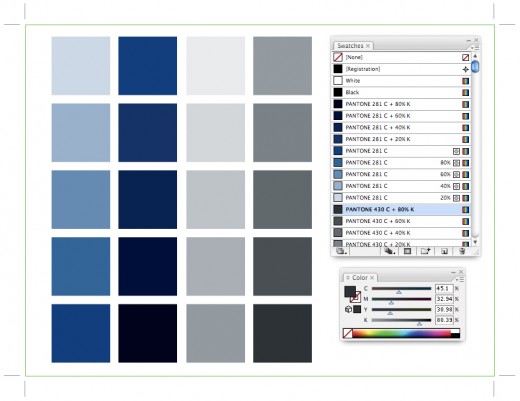
Congratulations! You have just learned how to expand your color palette using Tints & Shades!
Download: Extending Your Color Palette with Tints & Shades | Premium Design Works
See Also: Color Palette | Premium Design Works
This portion of the Premium Design Works website is written by Mike Sinkula for the Web Design & Development students at Seattle Central College and the Human Centered Design & Engineering students at the University of Washington.



21 Comments:
I was happy to see that your site was the first search result of 157,000 (even before Adobe) for my “how to make tints in illustrator” search. SEO MASTER!
Yay, thank you, love this tute, so helpful!!!
I wish to have tint panel. Drudgery effort so! Hear me Adobe!
Thank you so much. Your tutorial helped me a lot.
thanks but i dont understand on how to add colour in tint and shade enlighten me more becos we gave as an assignment.
Premium Design Works has informed me that there is in fact a updated way to create colour tints. So here is the Adobe page for all those stumbling on this page looking for easier tints: https://helpx.adobe.com/illustrator/using/color-groups-harmonies.html
Thanks for that PDW!
Thanks for the info.
Achieving tints like this was so super easy in Microsoft Freehand. It literally happened at the click of a button. But for Adobe Illustrator it is quite a tedious process. I find this very strange for such a modern application.
This tutorial is superb. Its exactly what i was searching for.:D
this tutorial is super. It was exactly what i was searching for.:D
Using Illustrator to Match CMYK/RGB Colors to PMS
http://www.youtube.com/watch?v=P5gnRqz1TB0
i apretiate the how to a lot
Thank you this was helpful… Now I wonder if there is an easier way for CS5
There is!
Illustrator CS5 has a tool called Color Guide that does tint and shades for you. Open it under the window menu.
Not sure if CS3 has it too but just thought I’d throw that little tid-bit out there since you asked.
The problem with Adobe color guide is that it’s not precise enough with Shades. I want better control over how it shades a color. Let me decide what percentage of shade to give.
I like this tutorial, it will help me, but I certainly wish there was a more dynamic way to handle shading.
other interesing resources are:
http://colllor.com
http://www.w3schools.com/tags/ref_colorpicker.asp?colorhex=%2399b1cc
http://0to255.com/
Thanks, this tutorial is exactly what I am looking for.
Thanks for the tutorial; it was just what I needed.
Trackbacks:
[…] Washington’s Brand Guidelines. From there, I found the correct colors to use when making my tints and shades for the expanded color palette. This was useful for me to create the gradient structure for the […]
[…] 150 Dear cheru, plz check this link very helpful for you Creating Tints & Shades in Illustrator | WEB200 | Premium Design Works […]
[…] Creating tints and shades […]
[…] for all of the major elements, ID’s and Classes. It also contains links to the extended tints and shades color palette for the branded colors. Global Style Sheet […]
[…] Also: Creating Tints & Shades in Illustrator | WEB200 | Premium Design […]