A Web Design & Development Project Workflow that Works
Posted on May 4th, 2011 in Case Studies

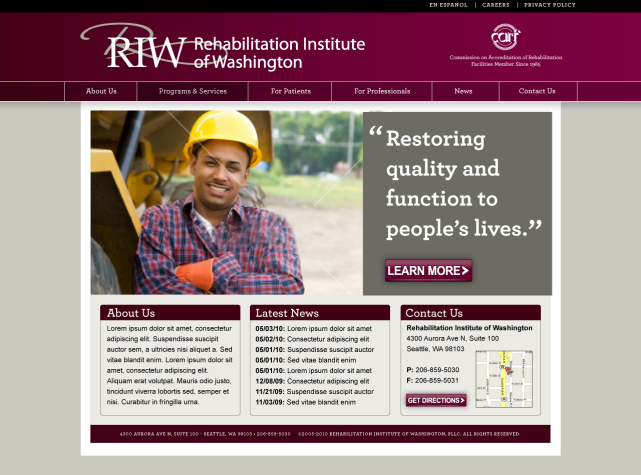
Website design, development and WordPress integration for the Rehabilitation Institute of Washington, a multidisciplinary clinic providing a range of diagnostic and treatment options for persons with chronic pain and disability.
The Theory
Unfortunately, how people work is one of the best kept secrets in America. It seems that we just don’t worry ourselves about how the work gets done while at the same time we depend on and make use of the products of the labor. But, is this a good or a bad thing? I say that in the world of website design, it is a very bad thing.
In my work as a web design and development professional, I have found that without a very visible and cooperative project workflow that involves both the client and the user through the many phases of the project, I would not be able to design or build a website that anyone would benefit from.
Unfortunately though, I have found that most small business owners just do not understand, nor are they interested much in the process involved to design, develop and deploy a website. Instead, they have an extremely idealized view of what it actually takes to create a successful website product. They have the impression that website design is an easy out-of-box and ready-made solution that will make them tons of money without any participation, thought or effort. Likewise, they are then confused when the do-it-yourself website program is difficult to maintain and has produced a site that their intended audience does not find useful or easy to use.
Therefore, I have taken on the responsibility to teach my students that each and every project in their lives will become much easier if they adhere to a clear plan and a direction that they can follow. I also argue that by having a very visible workflow, they are much more likely to achieve usability in their website designs that they produce.
See Also: How a Visible Workflow Achieves Web Usability | HCDE501 | Mike Sinkula
The Process
The process and workflow model that I have been using for my web design projects over the years has been largely defined by the book Web Redesign: Workflow that Works 2.0, by Kelly Goto & Emily Cotler. This workflow has led me to be able to develop documentation of the project scope in terms of the client’s needs and the needs of their users while utilizing professional project management strategies to successfully plan and complete my major web-based projects.
Discovery
Discovery is the project phase where you begin to understanding the Client, the project and needs of the users. Each website project should be viewed through a lens of “what can the site do to help the Client achieve their goals” while also focusing on “what do the website’s potential users want and need out of this website.”
I will begin the discovery phase by walking through all of the questions of the Client Survey with my Client to help us articulate and identify the overall goals of the project website re-design. Once this survey has been filled out it, it then becomes my key reference point for information regarding designing and producing the website.
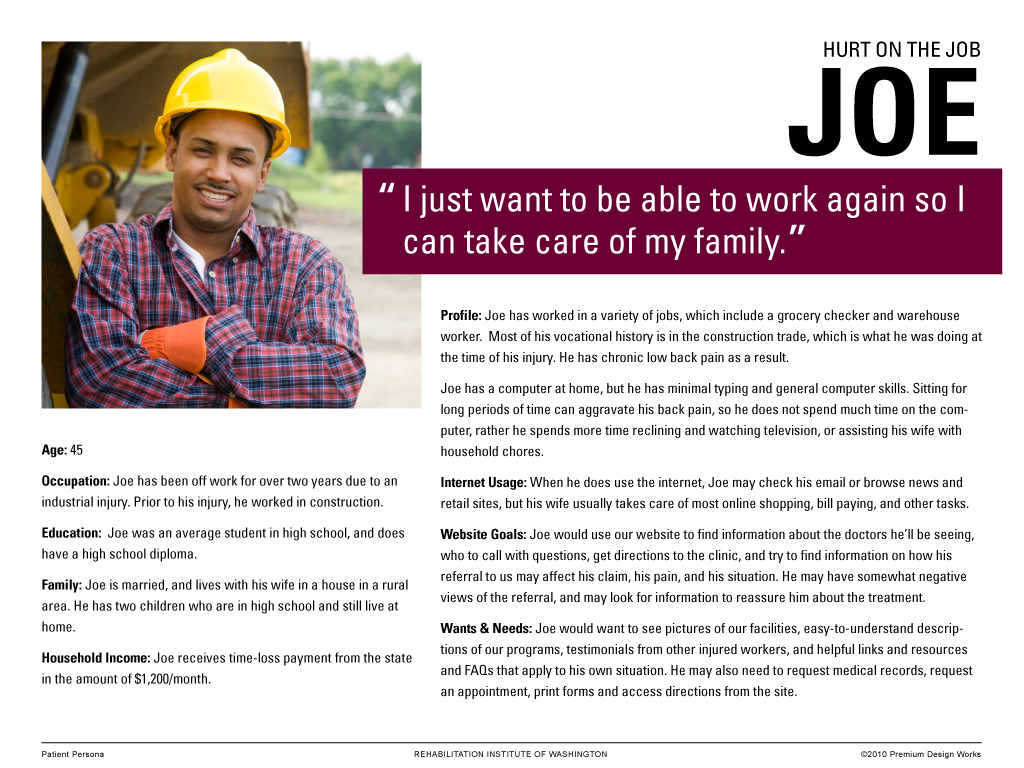
To figure out what the Client’s audience potentially needs out of the site that I am going to design and produce, I will start researching the user audience of the project. Many times the Client has basic information on who their audience is that I can use as a starting point to build my user personas from.
By profiling of a typical user that may come to the project website, I will begin to understand what the potential users want and need out of the website. Everything I do from here on out will be seen through the lens of these users.
Information Architecture
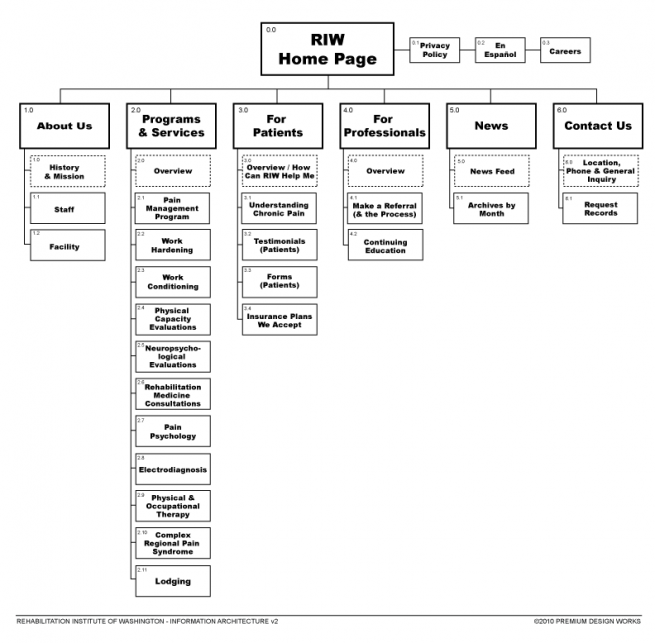
Information Architecture (IA) is said to be the art and science of organizing and labelling website information to support usability. It is also the basis for a clear and usable navigation schema.
Since the lack of clear organization of information, may be a large part of the problem with the old site, we must analyze and evaluate every aspect of current and potential information from a top-down and bottom-up perspective. This means that we need to gather all existing and potential content for the site, analyze what is there, see what is missing and then organize the information into logical categories and sub categories.
See Also: Information Architecture for the Web | WEB200 | Premium Design Works
This information architecture will then be the basis of the page-by-page breakdown of the website from here on out. We can then use this to compile and organize the existing written content into these categories and sub-categories. It will also be valuable in articulating what missing content will need to be written in the future.
Navigation Design & Content Layout
In my opinion, website design is largely if not all about the organization and presentation of content. Therefore, a considerable amount of time needs to go into designing the navigational schema and content layout of the website before the visual design stage should begin.
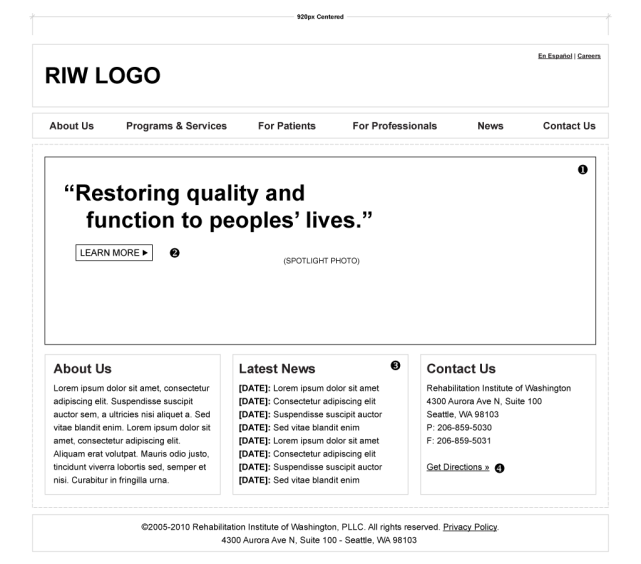
The process of designing the content layout of the website should be done by creating wireframes for each and every page. Traditional wireframes are black-and-white diagrams that illustrate blocks of content, navigation and functionality of a website design. They have been used as a tool to communicate content and structure of a page’s design without the distractions of color and imagery.
Wireframes are also generally used to help a web designer work quickly through a series of layout iterations before the visual design is implemented.
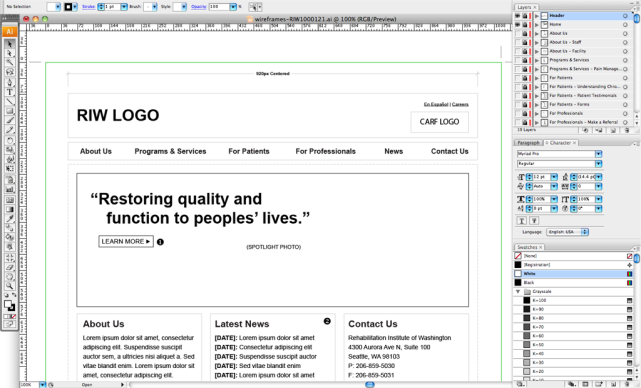
I typically use Adobe Illustrator to create my wireframe documents:
See Also: Creating a Website Wireframe in Illustrator | WEB200 | Premium Design Works
Visual Design
By this time in the process, the clients are usually dying to see something visual rather than just schematic. But let’s remember that since our websites are products that will actually get used, our visual designs need to achieve a balance between the technology of the web and brilliant creativity.
When I first started out doing web design late last century, I always struggled with the visual design concepts. Back then I was under the impression that I was putting together a fine arts piece that was to be more creative than functional. I soon realized that taking that approach just didn’t work.
In order to create a visual design that works for both the client and their audience, we need to create something that keeps the overall site objectives and user needs in mind. This will help us to create something that is aesthetically pleasing that will also end up being functional. Following these guidelines will aid in helping us through this stressful process.
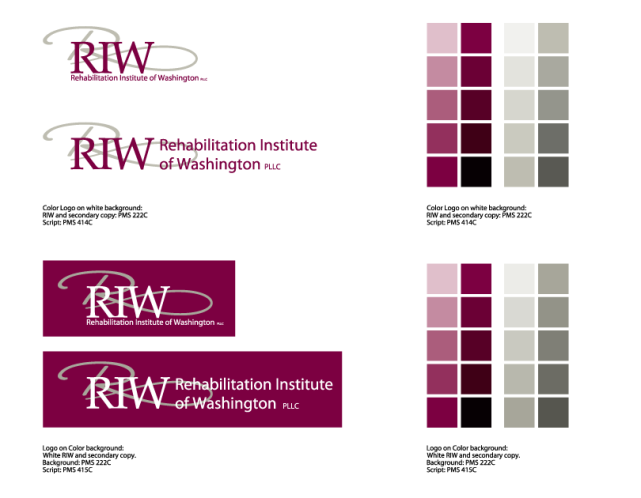
When creating the visual design concepts, I typically try to paint around all of the specifications that I have pulled together so far. My first task is to create an extended color palette from the brand of the company:
See Also: Creating Tints & Shades in Illustrator | WEB200 | Premium Design Works
Creating an extended color palette using tints and shades of the base colors will help me to achieve a dimensional look and feel to the design while still adhering to the company’s brand. Once I learned this trick, my life became a whole lot easier and the creative part of this process just didn’t seem so stressful anymore.
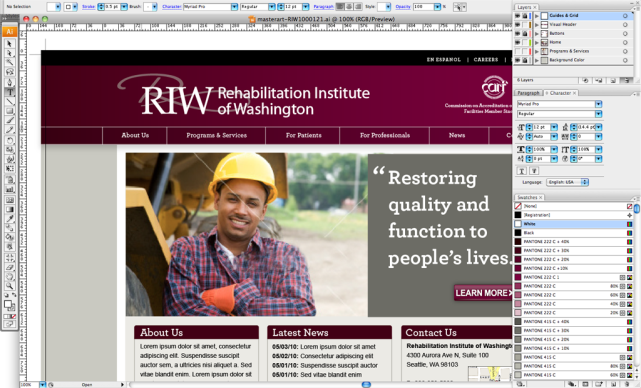
Again, I will use Adobe Illustrator to create my visual designs. I can take the extended color palette that I created and use a paint by numbers approach right over top of the wireframe documents that I created in the previous phase:
I will then have a complete master art document that I can use to build my page templates from.
Template Production
Many young web designers might want to jump right into creating the fully functional working protosite at this point. I encourage them not to. Before diving right into building all of the pages for your site, you need to make sure that the design you created will work.
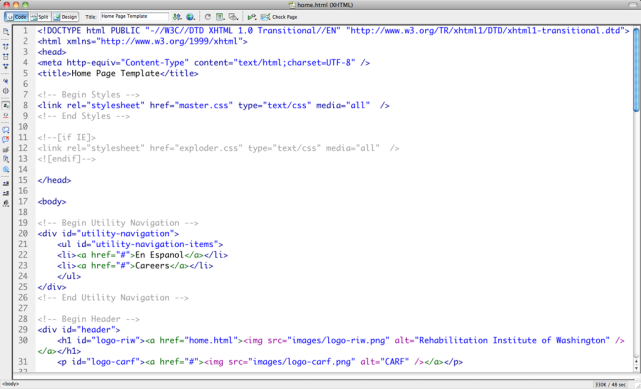
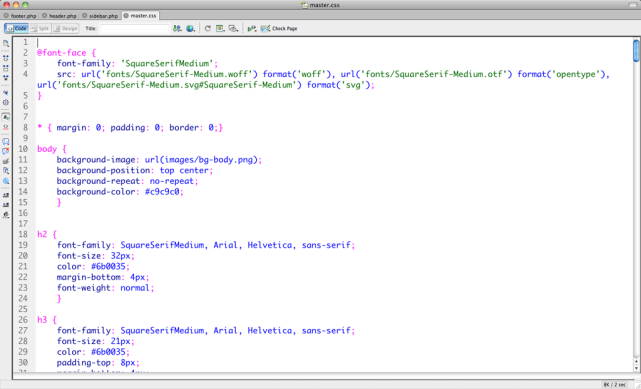
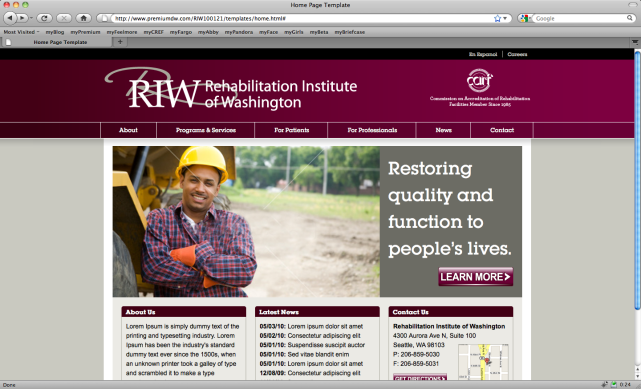
To do so, you should build out at least your home page and one main category page as static HTML & CSS template builds.
By building out these page templates as a static HTML & CSS builds first, you will be able to confirm your design as working page that you can test in multiple browsers and across multiple platforms before you get into building out the protosite:
See Also: Building an HTML Template from Master Art | WEB200 | Premium Design Works
Protosite Development
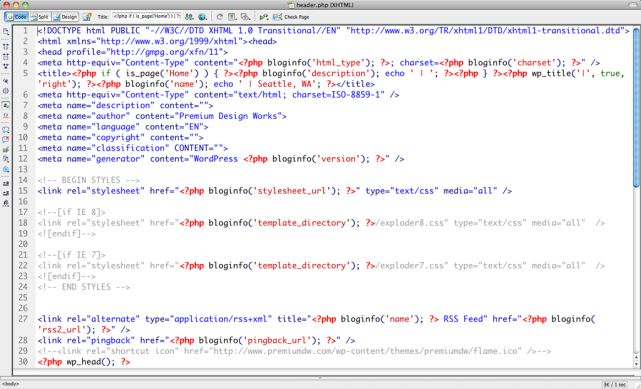
Once I make sure that my basic build works and even looks good in Internet Exploder, I can then take my templates and convert them into a working protosite. This is where I will break out the static parts of my templates and start to produce the site in a modular fashion:
See Also: Building an HTML Protosite Using PHP | WEB200 | Premium Design Works
At this point, many inexperienced web designers may be tempted to build the protosite on the Client’s server. I would argue against that for a couple of different reasons. The main reason being that since this is not the final site and there might still be some experimental development issues to solve, you should solve them on your own servers as the code is your intellectual property and your problem solving trials don’t need to be published somewhere else.
Another key reason for developing on your on servers is that, what happens if the site gets pulled someday in the future? If you build this protosite on your own servers, you will always have a working demo to refer back to and show in your portfolio. Just remember to prevent the Google machine from indexing it.
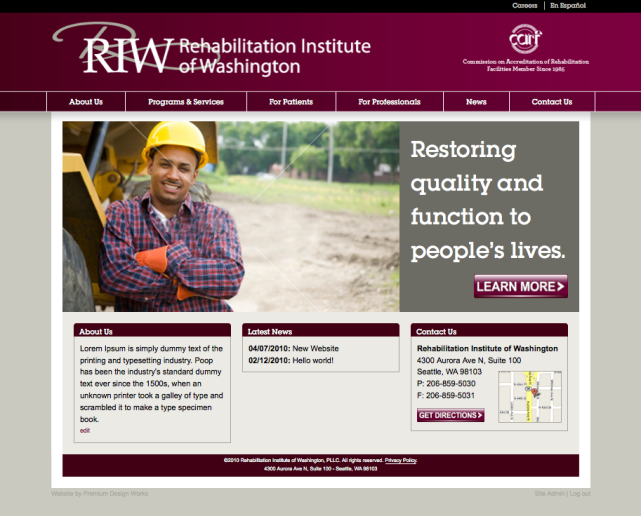
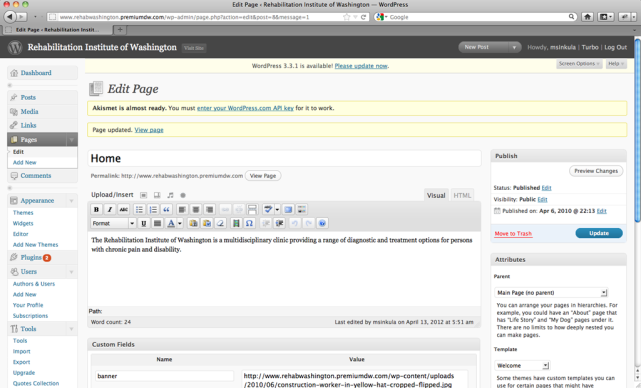
For a small business website like this one, I will typically build the protosite using WordPress, a powerful and fascinating Open Source project and Content Management System (CMS) for bloggers, web designers and developers. This way, the Client can easily create, update and manage their own content:
See Also: What is WordPress? | ITC298 | Premium Design Works
Design & Production Style Guides
When the protosite has been completed and ready to be migrated to the Client’s server, we still have to remember that there are a few steps left to complete before we actually move the site to being live. We as web designers need to remember that this website is a product that we need to create working documentation for.
I might like to assume that no one else will ever be working on this site in the future but me. But, that is just not the reality of business. It is likely that down the road there will be another designer or developer that will be working on this site. Therefore, we need to make it easy for another person to figure out how the site is built.
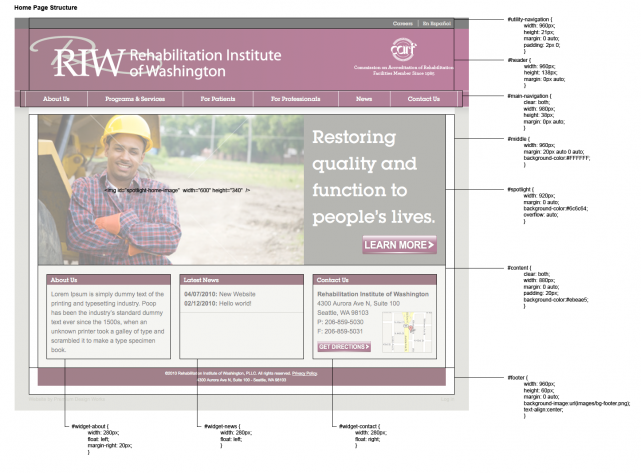
Design, production and development elements need to be documented for future work as a “Style Guide“—sometimes also referred to as a “red-line.” The Style Guides need to be comprehensive as they will be used as a reference guide for the maintenance team when adding or modifying graphics, pages and overall content:
We should include any and all information relevant to maintaining the site in our style guides.
Training Documentation
In order for the Client to use their brand new CMS, we are going to need to provide them with the road-map of how to do perform certain functions and tasks. The benefit of using an application like WordPress is that there are already many books written that will help the Client understand how create, update and manage much of their content.
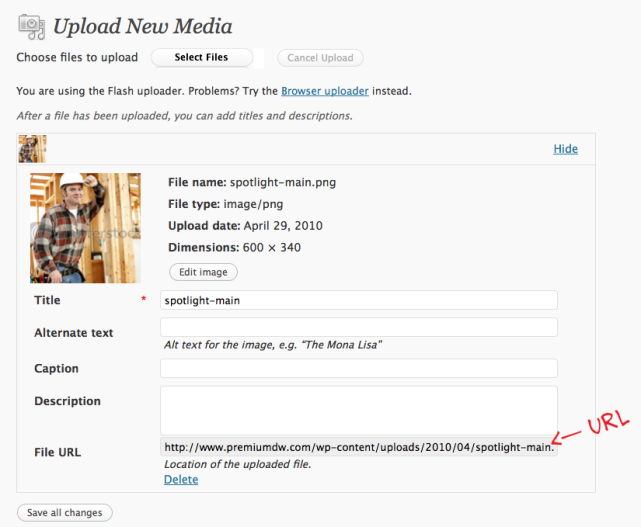
If you have created custom functionality above and beyond the out-of the-box solutions, like most of us do, you are going to need to document those procedures for your Client:
This training documentation should include a step-by-step “how to” that the Client can easily walk through and use when they need to perform one of these tasks.
Website Launch & Maintenance
With the site finally ready to move to the Client’s live server, all testing must be complete and design and production must be frozen at this point. We also need to remember to plan to upload the website to the Client’s server during non-peak hours to allow for downtime. Launch should interfere as little as possible with regular website traffic. Because there are probably still bugs to be slain, we need to have a solid plan in place for post launch fixes as well.
Launching your Client’s website should never be the end of your working relationship. It should be a transition into an entirely new workflow. Our Client’s are going to count on us to provide them with post-launch fixes and customization when necessary. We need to remember that as time goes by there are always going to be new products to feature, events to promote and services that will change.
The Result
As small business owners, we knew we needed a Website, but I really had given little thought to what this should look like or how it would be used by others. Premium Design Works walked us through a step-wise process to define the purpose of the site, the audience, desired content, and the way it would likely be used by our clients. This process helped us discover what we wanted from a Website, and allowed us to get more than we initially expected.
— James Moore, Ph.D., Co-Founder of Rehabilitation Institute of Washington
I have learned that by following a structured plan as outlined in this article, we will have built a solid and functional working relationship with our Clients and that from here on out there aren’t going to be many issues that we can’t tackle together.

[…] Nice template from here http://www.premiumdw.com/case-studies/a-website-project-workflow-that-works/- […]
This is way more helpful than anynhitg else I’ve looked at.